Teaching Your Kids to Breathe: Putting it All Together

Now that your kids have extensive practice breathing by turning their heads, it’s time to teach them to combine it with the freestyle or front crawl. But how do you teach them to put it all together?

Putting It All Together

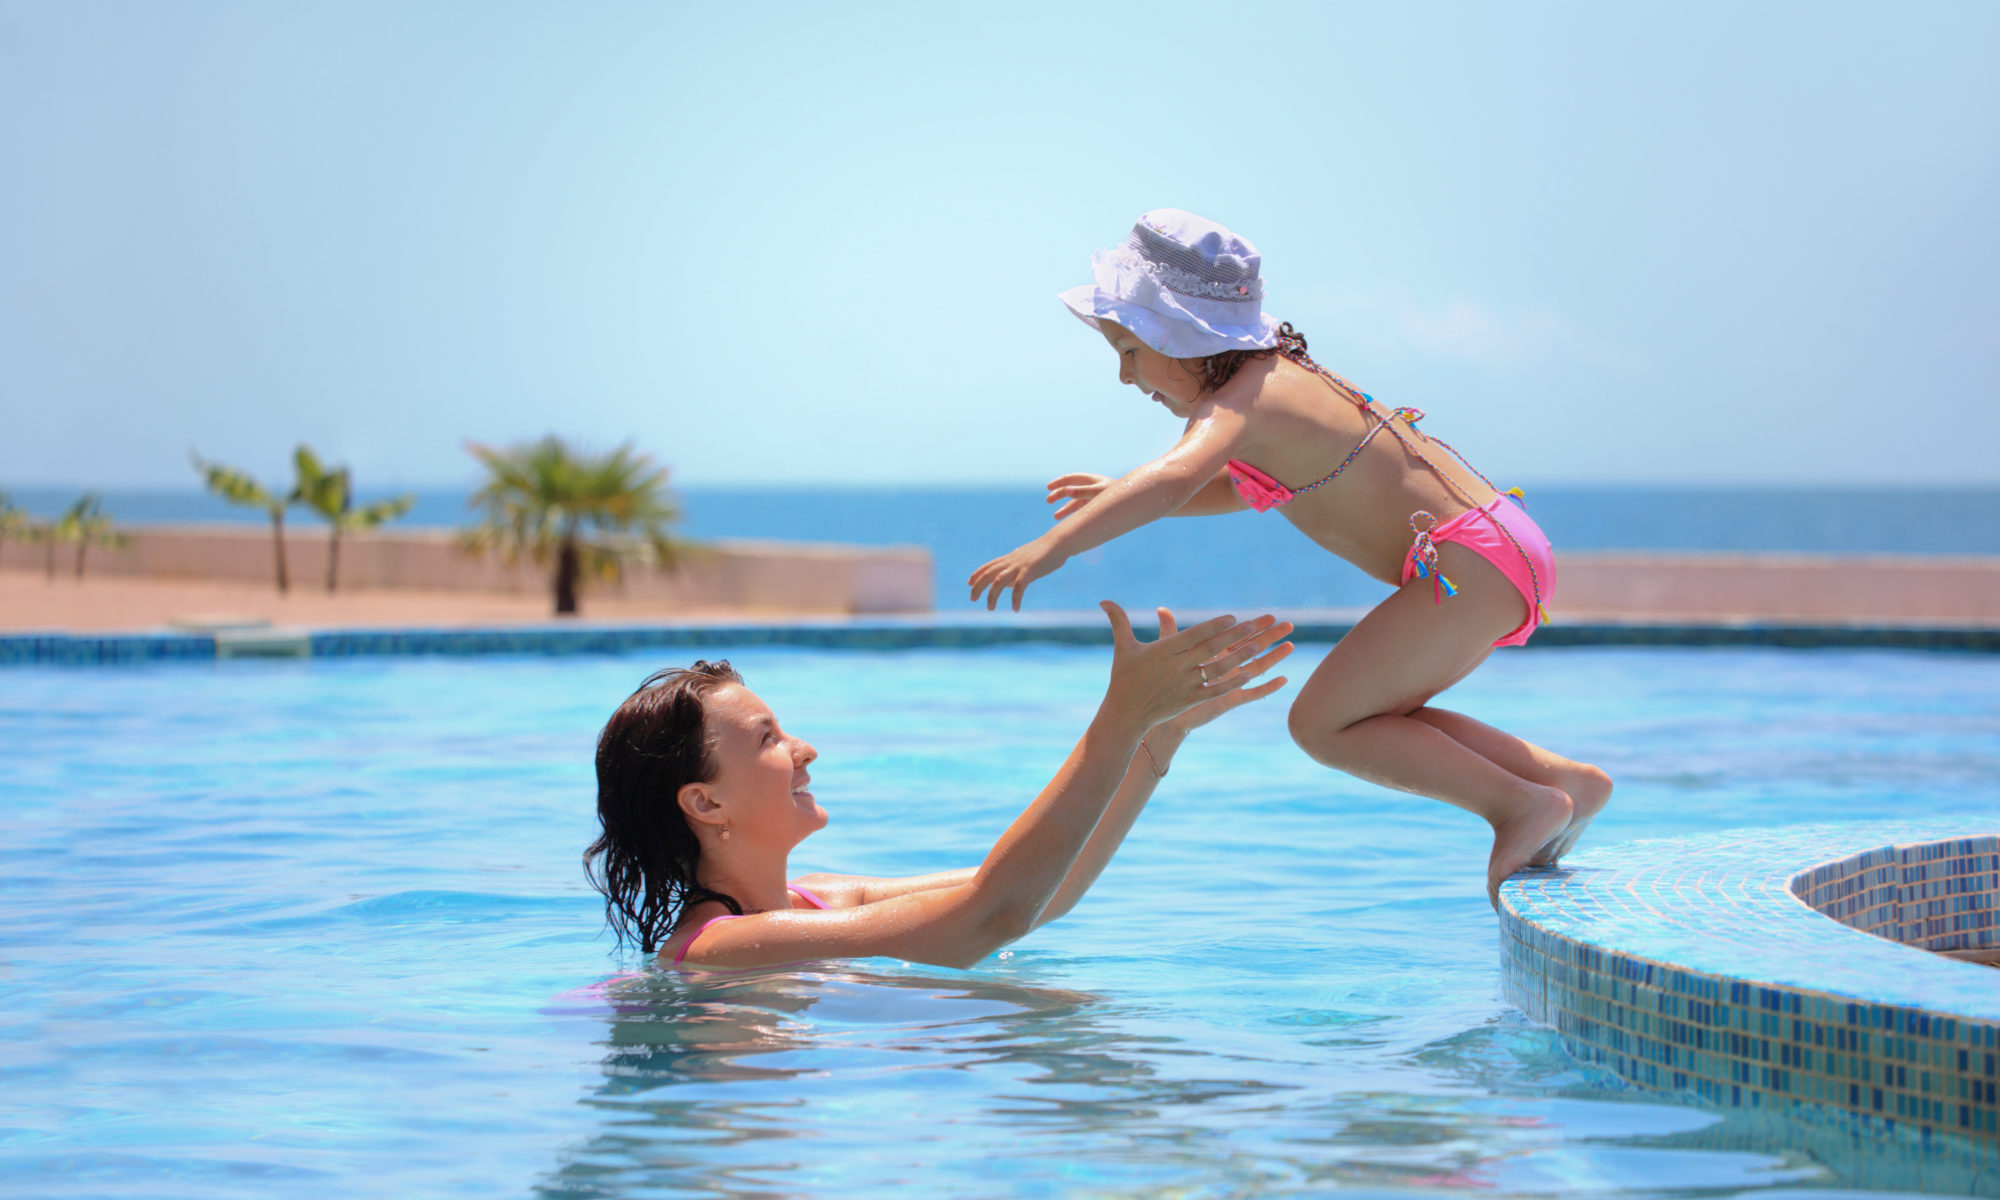
Have your kids swim from one side of the pool to the other in the shallow end, so that they’re confident that they can just put their feet down to stand anytime they want. Walk next to them in the water while they swim to provide them with an extra sense of security.

Breaking It Down

Once your child is swimming, the skill can be broken into two parts: the torso rotation and the head rotation and breathing. Start by working on torso rotation. Have your child do a couple of strokes of front crawl in the pool. When he would normally pop up to take a breath, have him roll onto his back and do a few strokes of the backstroke instead. The point of this exercise is to help him get a feel for keeping his body horizontal throughout the rotation.

If he has a tendency to lift his head, he’ll feel how it tips his body out of position. A simple verbal reminder like “turn don’t lift” or “turn don’t tilt” should help him to focus on keeping his head in line with his body while he swims. If verbal reminders not to lift his head aren’t enough to help him with the movement, you can have him practice rolling from a streamline position into a back float position while you support him.

Once he’s comfortable rotating his torso all the way over, have him practice doing the front crawl, rotating his torso and turning his head, but not taking a breath. Once he’s done that a few times, he’s ready to combine the skills: turn his torso and head during the stroke and take a breath through the space between the recovery arm and the water. Have him swim from one side of the pool to the other, practicing turning his head to breathe just once each lap and using popup breathing the rest of the time.

Back on land, you can reinforce the idea of turning-not-lifting his head by having him lie on his back on the ground and turn his head directly side to side.

4 Steps to Teaching Your Kids Rhythmic Side Breathing

Now that your kids have gotten the hang of how they’ll need to move their bodies in order to streamline their breathing when they swim–see the previous post if you haven’t already read it–it’s time to move the practice into the swimming pool. Here’s a progression of four steps to move your kids closer to rhythmic side breathing when they swim.

4 Steps to Teaching This Critical Swimming Skill

Step 1: Practice the same exercise standing in the swimming pool.

Have your child stand in the shallow end and hold onto the edge of the pool with his upper body in streamline position. Ask him to put his face in the water and twist his torso. Does his mouth come just barely out of the water? Does he need to twist his head just a little more to get his mouth clear?

At this point, your child shouldn’t be relying on turning his head to breathe. He can stand up straight whenever he wants to take a breath. He should concentrate, though, on turning his head directly to the side instead of lifting it up.

Step 2: Practice the same exercise holding onto the edge of the swimming pool.

Have him do the exercise with the whole body in streamline position, gently kicking instead of standing. Once your child is comfortable with this, have him try to take a breath during one of his turns. Don’t try to move into this too quickly, and don’t try to establish a rhythm right away.

Step 3: Practice establishing a rhythm.

After he’s comfortable with taking one breath, have him try to establish a rhythm. Turn, turn and breathe, turn, turn and breathe. Make sure he understands that he doesn’t have to breathe every time he turns. When he practices, have him breathe on the same side every time.

Step 4: Practice exhaling to prepare for inhaling.

Next have your child practice expelling air while his head is underwater so that he’s ready to inhale as soon as his head is above the water. If he’s already learned to blow bubbles, he knows how to expel air while his head is under water. Ask him to expel all the air then twist his head and body to inhale.

Once your kids have practiced these four steps, they’ll be ready to combine their breathing with their swimming stroke. Tune in tomorrow for how to teach your kids to breathe and swim at the same time. (It’s not that different from walking and chewing gum. Anyone can do it.)

How to Teach Your Kids to Breathe While They Swim

Your kids don’t need to learn to turn their heads to breathe to be safe in the water, but if they want to do a true crawl or to swim as fast as possible, they’ll want to. Here’s how to teach this swimming skill.

There’s a lot of awareness of the body required to optimize this swimming skill. At the end of the process, your child will learn that, as his body rolls so that he’s mostly on his side, he’ll turn his head just slightly so that it’s out of the water and he can breathe in through his mouth. He’ll time the breath so that he’ll be looking through a triangle formed by the bent recovering arm and the surface of the water.

The First Step

You can practice on dry land. Have your child put his hands on the edge of a table and move his feet until he can position his upper body into a streamline position on a plane with the surface of the table. Have him hold onto the edge of the table with one hand—let’s call this the stroking arm—and gently touch the table with the other hand—let’s call this the recovering arm. Ask him to twist his torso, turning so that the shoulder of the recovering arm lifts toward the ceiling. The hand of the recovering arm might lift a few inches off the table, too. Have him notice the position of his head relative to the recovering arm.


How to Teach Your Kids the Backstroke: The First Stage

If the front crawl is the get-there-quick swimming stroke, the backstroke is the stop-and-smell-the-roses stroke. It’s fun and relaxing, and teaching your kids the backstroke is fun and relaxing, too. Breathing is easy. Because you don’t have to concentrate much on breathing, it’s easy to focus on the rest of the body. Although the body position is the same, the backstroke is actually easier to do than back floating, because the movement helps to keep the body in position.

The First Stage of Teaching the Backstroke

By this point, your child has the advantage of having learned to float on his back, to kick, and to streamline his body position. All of this is the foundation for starting to learn the backstroke. (If you haven’t already taught your kids, these swimming skills, now’s the time! Teaching the backstroke without these foundation skills is pointless.)

Floating on his back has prepared your child to keep his body horizontal and his head in line with the rest of his body. This is the necessary starting point for the backstroke.

Step 1: Nothing But Kick

To start to learn the backstroke, ask your child to put his arms in streamline position while he floats on his back and kicks. Have him practice this for a while to get a feel for moving while he’s on his back. Be sure to track his position in the pool for him and give him plenty of feedback about where he is in relation to the sides or end of the pool. Later he’ll learn to do this himself.

Step 2: One Arm at a Time

Have your child pull one of his arms from streamline position through the water to his thigh. Have him lift his arm to return it to streamline position and then try the same thing with his other arm. Have him practice alternating his arms this way for several lengths of the swimming pool until he feels comfortable with it.

As with the front crawl, have your child visualize reaching for something in the swimming pool just beyond his grasp above his head and to look up. This will help to counteract the tendency to bend at the waist.

Step 3: Put It All Together

At first, your child might have to concentrate so hard on moving his arms that he forgets to keep kicking. Don’t worry about this. After he’s gotten some experience moving his arms, gently remind him to kick. Work on this until your child is comfortable stroking with his arms and kicking continuously. Then, it’s time to move on to the next stage of teaching the backstroke.