Teaching the Swimming Kick: Stage 1

When you’re teaching your kids to kick, you can take advantage of time outside the swimming pool to work on this skill.

How to Teach Your Kids to Kick without a Swimming Pool

Have your child sit in a chair and follow these steps to teach him the important points of the swimming kick.

  1. Demonstrate what it means to flex and to point, and have him practice it without any kicking motion.
  2. Have him hold still while you move his feet for him from flexed to pointed and back again, so that he really feels the ankle and can isolate that feeling.
  3. Have your child sit on the edge of the chair and brace himself with his hands. Ask him to lean his torso back slightly for balance and kick from the hip, keeping his legs straight, his ankles loose, and the kick small and narrow.

Use this opportunity to touch his upper thigh to show him where the work is being done. He won’t get a great sense from this exercise for how important the ankles are, because air resistance is so much less than water resistance, but he will get a good feel for keeping his legs straight and for the range of motion from the hip.
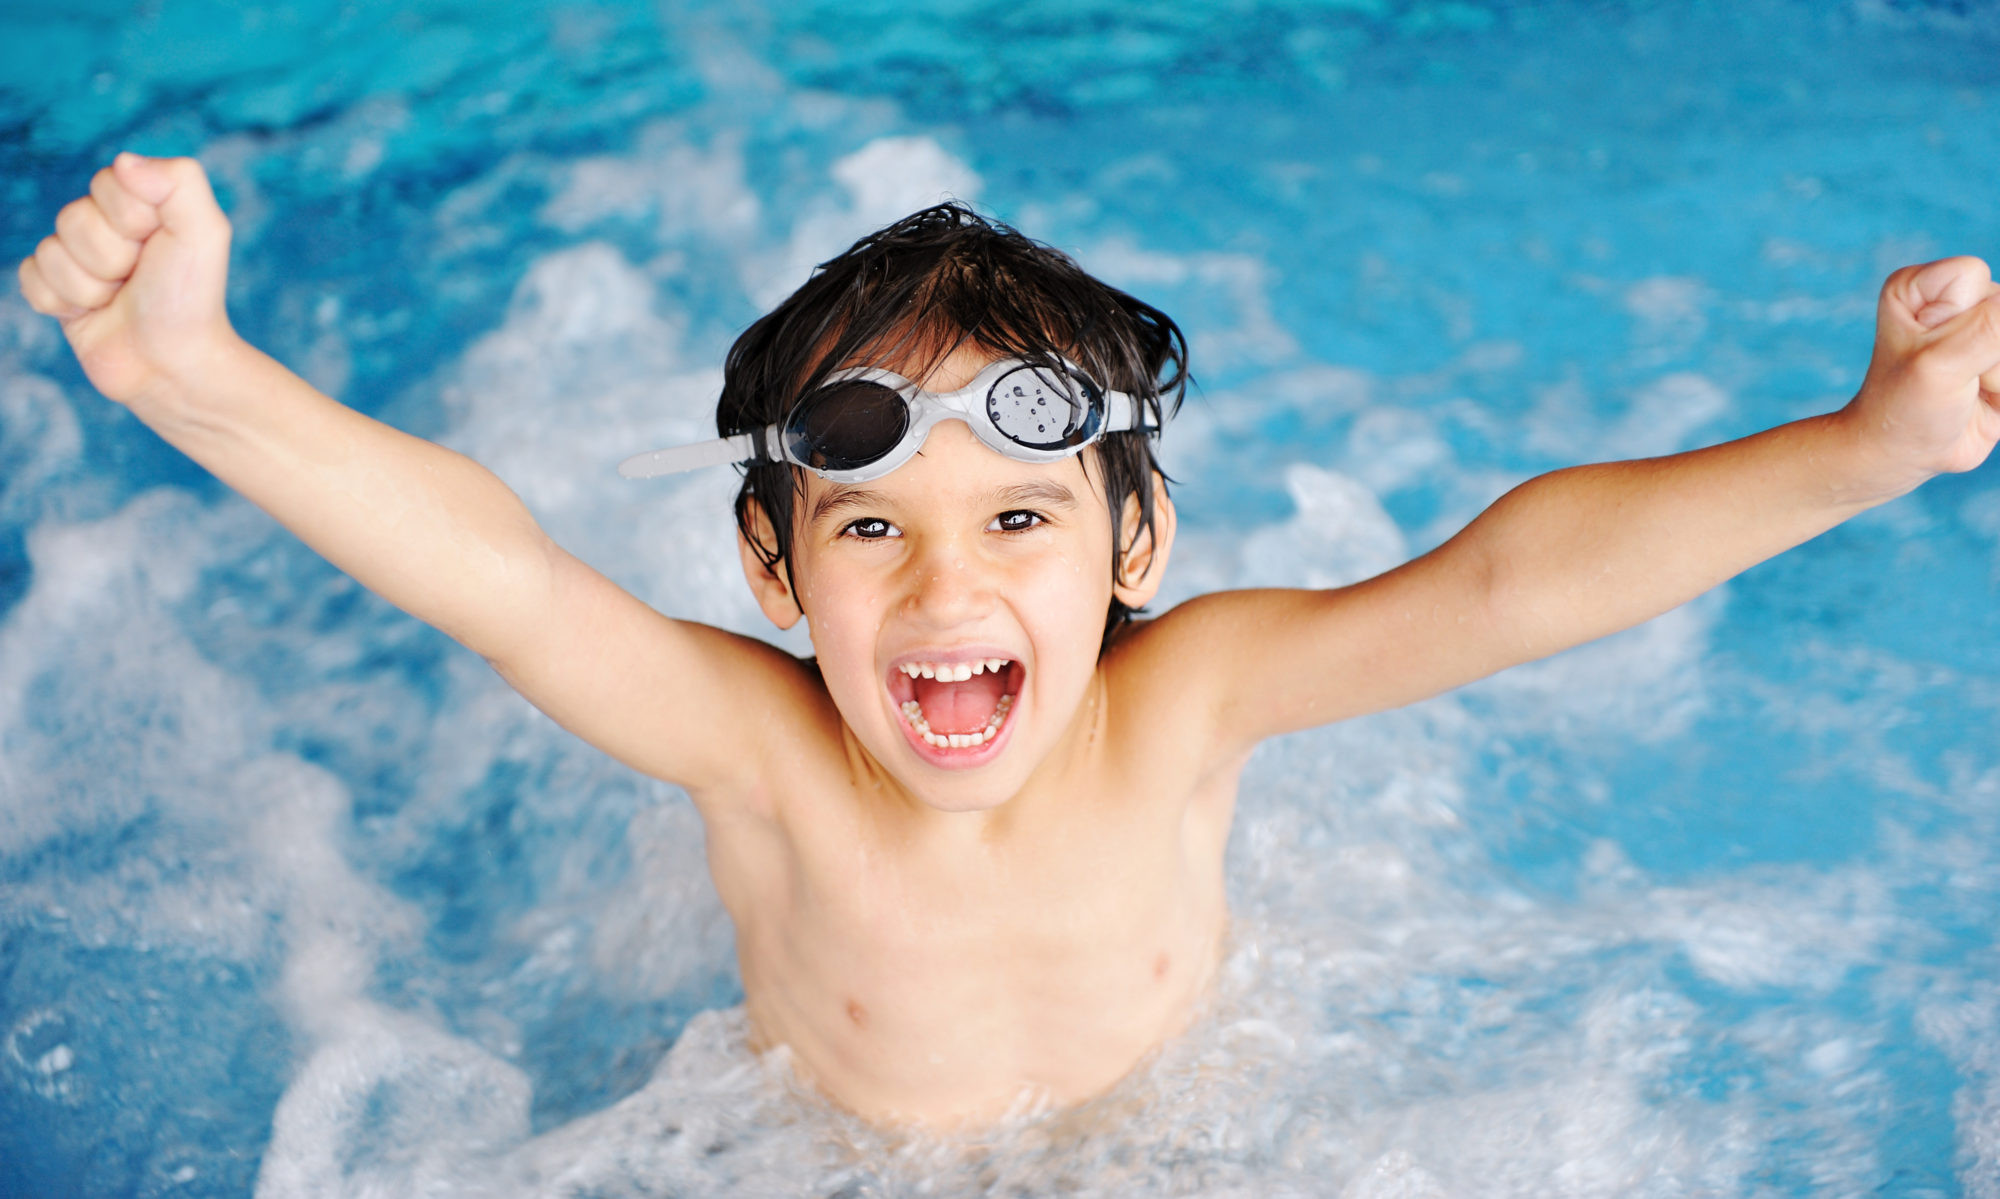
6 Keys Aspects of the Swimming Kick to Focus on When You Teach

In most strokes, kicking provides stability for your body while the arms provide most of the propulsion. The kick helps your body to stay aligned. In the early learning stages, having a solid flutter kick will help stabilize your child as he learns to position his body in the water and to use his arms to propel himself. Here are six important aspects of the kick to focus on.

The key to the kick is coordination and ankle flexibility.

Six Aspects of the Kick to Focus On

  1. There should be a lot of movement in the ankle, but from the hip to the ankle should be supple but almost straight. The knees should bend very little. It’s not like pedaling a bike. Think length and flow.
  2. Use the muscles at the top of the thigh to move the whole leg.
  3. The leg shouldn’t have side-to-side movement.
  4. The kick should be narrow, with ankles fairly close to each other.
  5. The kick isn’t long like a stride on land is. The up-down movement should be contained within the movement of the water that your arms creates. You can feel this area when you move your body. When you get to the part of the water that hasn’t been moved by your body, your leg will feel more resistance. Keep your kick out of that higher-resistance water.
  6. Ankle flexibility is really important. While your whole leg moves, the foot is like a flipper that provides most of the benefit of the movement. It should feel like you’re trying to flick a shoe off your foot.

Time to Play! Going Underwater

Kids learn by playing. The more you can make learning to swim fun for your kids, the more they’ll like it, the quicker they’ll learn, and the more fun you’ll have teaching them. Once your kids are comfortable going underwater, try this game to help them develop this swimming skill without realizing they’re practicing.

Play duck. Quack on the surface together and then dunk your heads under to look for food. Did you find any? Can ducks quack while they’re underwater? What do they see while they’re under there?

Teaching Your Kids to Go Underwater: Mastery

Once you’ve got taught your kids the basics of putting their heads underwater, you can help them develop mastery of this swimming skill. Here’s how to do it.

Tips for Teaching Your Kids to Master Going Underwater

  1. Practice going underwater together, holding your child securely against your body.
  2. Explain what you’ll be doing. If your child expresses fear, don’t do it. Work towards it instead. Keep practicing putting his head in the water face first.
  3. Count to three. Rise up a little with a fairly quick, sharp movement, make a big show of taking a loud deep breath, complete with puffed out cheeks. For a lot of kids, the quick, sharp lift triggers an intake of breath. Quickly and smoothly lower both of you under water for just a second, maintaining eye contact the whole time, even under water.
  4. If you move slightly sideways into the water as you go under, water is less likely to get into your child’s nose. You can try having your child hold his nose with his fingers the first few times if he’s worried about his nose. Once he gains confidence, do it without holding the nose.
  5. If your child sputters, demonstrate a little cough to clear your own throat. Praise and explain that it will get easier.
  6. Keep practicing and repeating this exercise, gradually extending the time under water to a few seconds. When he feels really comfortable, go underwater together having him hold onto you by your arms, so that there’s plenty of space between your bodies and he has a strong feeling of independence in the movement.
  7. As a last step toward mastering putting his head underwater, have your child hold onto the edge of the pool with you nearby but not touching him. Have him put his own head under the water, preparing himself and choosing for himself when to resurface.