4 Steps to Teaching Your Kids Rhythmic Side Breathing

Now that your kids have gotten the hang of how they’ll need to move their bodies in order to streamline their breathing when they swim–see the previous post if you haven’t already read it–it’s time to move the practice into the swimming pool. Here’s a progression of four steps to move your kids closer to rhythmic side breathing when they swim.

4 Steps to Teaching This Critical Swimming Skill

Step 1: Practice the same exercise standing in the swimming pool.

Have your child stand in the shallow end and hold onto the edge of the pool with his upper body in streamline position. Ask him to put his face in the water and twist his torso. Does his mouth come just barely out of the water? Does he need to twist his head just a little more to get his mouth clear?

At this point, your child shouldn’t be relying on turning his head to breathe. He can stand up straight whenever he wants to take a breath. He should concentrate, though, on turning his head directly to the side instead of lifting it up.

Step 2: Practice the same exercise holding onto the edge of the swimming pool.

Have him do the exercise with the whole body in streamline position, gently kicking instead of standing. Once your child is comfortable with this, have him try to take a breath during one of his turns. Don’t try to move into this too quickly, and don’t try to establish a rhythm right away.

Step 3: Practice establishing a rhythm.

After he’s comfortable with taking one breath, have him try to establish a rhythm. Turn, turn and breathe, turn, turn and breathe. Make sure he understands that he doesn’t have to breathe every time he turns. When he practices, have him breathe on the same side every time.

Step 4: Practice exhaling to prepare for inhaling.

Next have your child practice expelling air while his head is underwater so that he’s ready to inhale as soon as his head is above the water. If he’s already learned to blow bubbles, he knows how to expel air while his head is under water. Ask him to expel all the air then twist his head and body to inhale.

Once your kids have practiced these four steps, they’ll be ready to combine their breathing with their swimming stroke. Tune in tomorrow for how to teach your kids to breathe and swim at the same time. (It’s not that different from walking and chewing gum. Anyone can do it.)
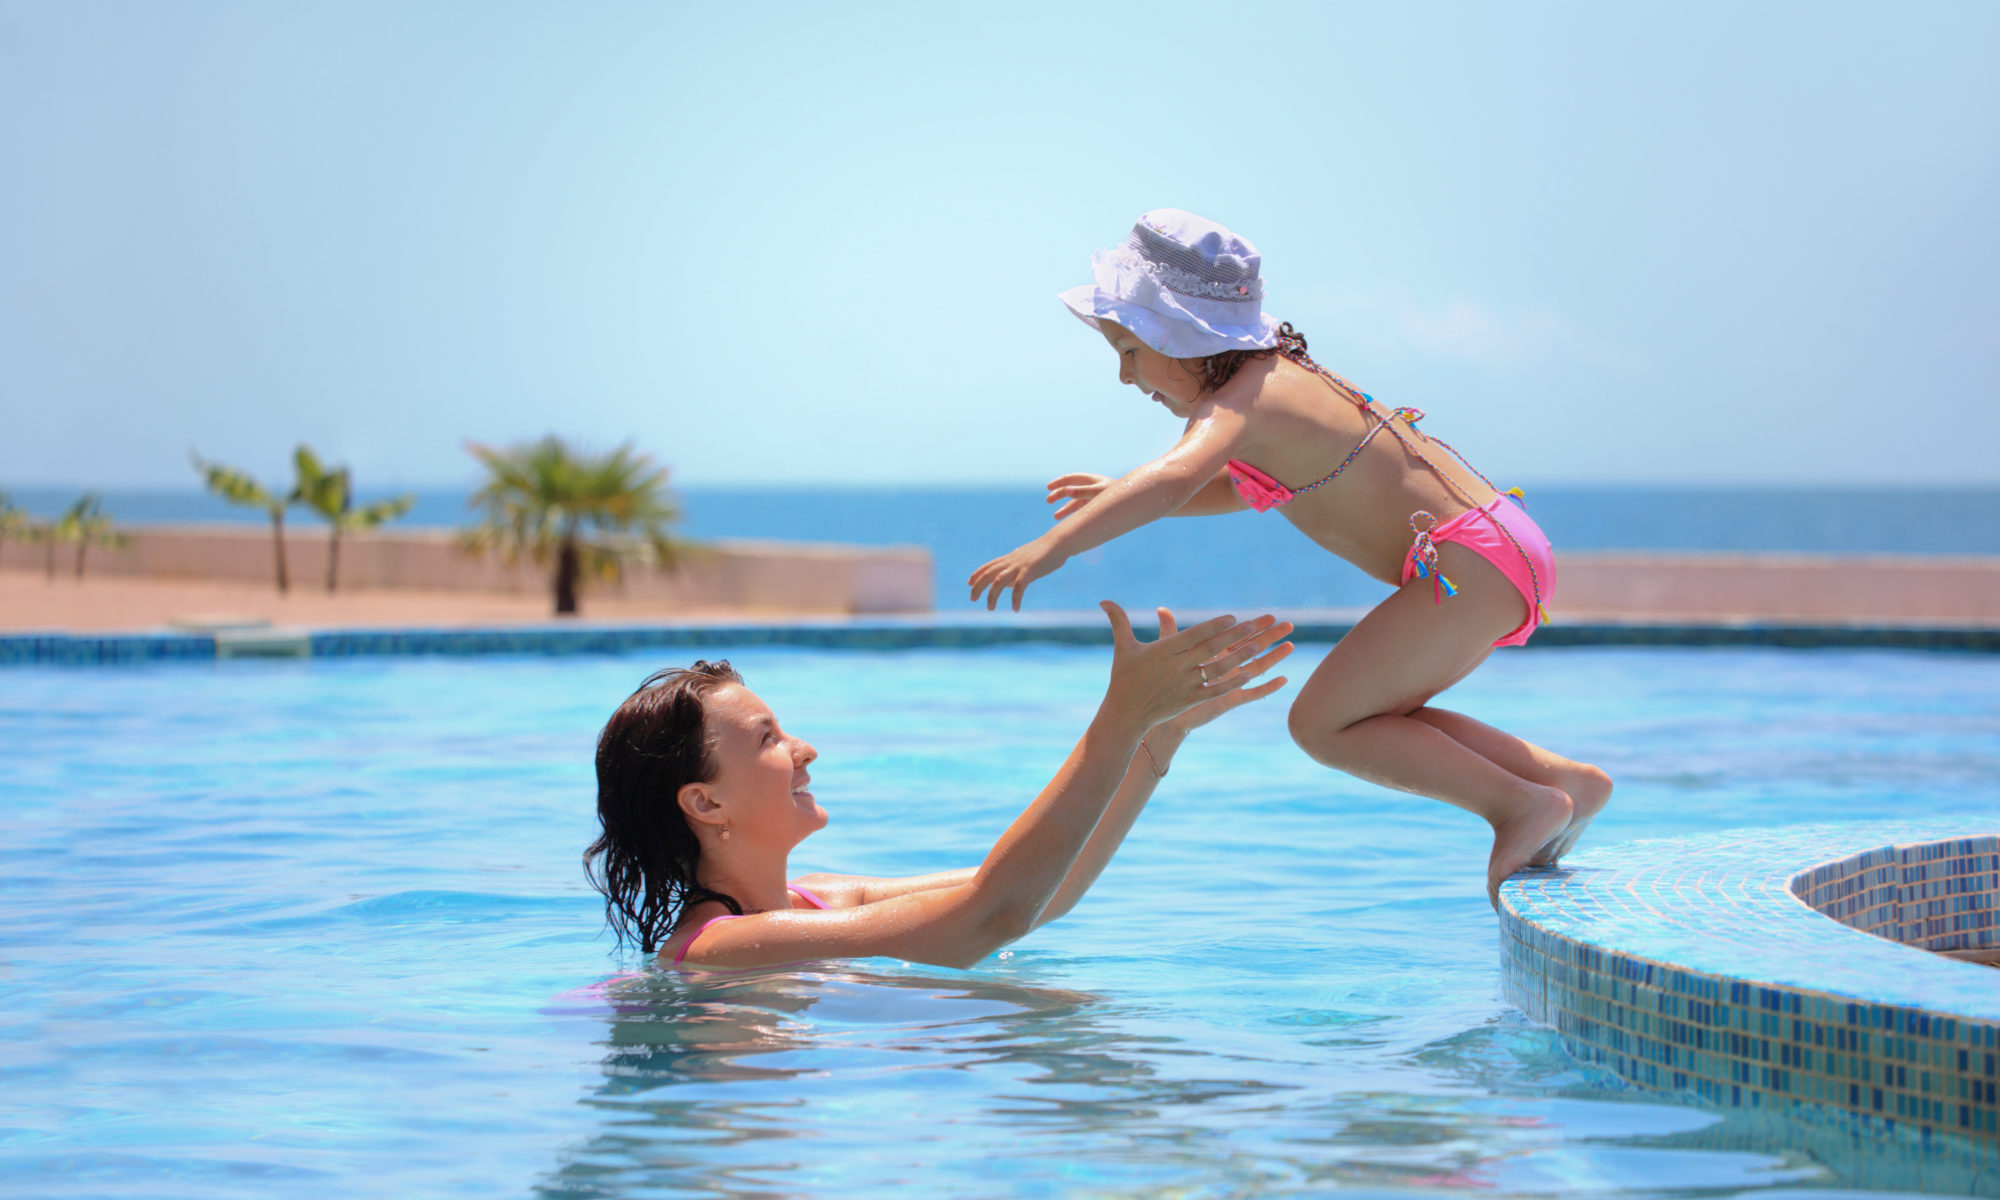
How to Teach Your Kids to Breathe While They Swim

Your kids don’t need to learn to turn their heads to breathe to be safe in the water, but if they want to do a true crawl or to swim as fast as possible, they’ll want to. Here’s how to teach this swimming skill.

There’s a lot of awareness of the body required to optimize this swimming skill. At the end of the process, your child will learn that, as his body rolls so that he’s mostly on his side, he’ll turn his head just slightly so that it’s out of the water and he can breathe in through his mouth. He’ll time the breath so that he’ll be looking through a triangle formed by the bent recovering arm and the surface of the water.

The First Step

You can practice on dry land. Have your child put his hands on the edge of a table and move his feet until he can position his upper body into a streamline position on a plane with the surface of the table. Have him hold onto the edge of the table with one hand—let’s call this the stroking arm—and gently touch the table with the other hand—let’s call this the recovering arm. Ask him to twist his torso, turning so that the shoulder of the recovering arm lifts toward the ceiling. The hand of the recovering arm might lift a few inches off the table, too. Have him notice the position of his head relative to the recovering arm.


4 Tips for Refining the Backstroke (Including How Not to Hit Your Head)

Now that you’ve taught your kids the basics of doing the backstroke, you can use your practice time in the swimming pool to work on refining it. Here are four tips to help your kids learn the fine points of this fun swimming stroke.

  1. Your child needs to learn to be aware of where he is in the pool and when he’s approaching a wall when he’s doing the backstroke. If you’re practicing in a pool with lanes and flags, this is easier. Have him pay attention to the flags above his head and keep an arm outstretched once he passes them. How long does it take to reach the wall once he’s seen the flags? How many strokes?

    (If there are no flags suspended above the pool you’re using, help your child to pick out another landmark that he can spot from the corner of his eye or by slightly turning his head. Make sure to let him know that you won’t let him bump his head into the wall while he’s practicing.)
  2. If you want to work on refining the backstroke, have your child focus on the position of his hand as it enters the water. His palm should face away from his body, and his little finger should enter the water first.
  3. The rotation of his shoulders will create a twisting motion in his torso and a gentle rolling feeling. Have him notice this and the effect of his kicking on stabilizing him.
  4. The backstroke is a perfect stroke for paying attention to keeping the kick small, gentle, fluid, and from the hip. Point out how only his toes will break the surface of the water and his feet will create very little splash.

6 Tips to Transform Your Kids’ Backstroke

Once your kids are comfortable with the basics of the backstroke, you’re ready to start teaching them some refinements. These six areas to focus on will help your kids develop their backstroke beyond the basics.

6 Backstroke Refinements

  1. Grab the water. You’ll probably recognize this from teaching your kids the front crawl. Ask your child to think about grabbing a handful of water and pulling it down to his hip. Have him imagine that he’s trying to keep the water from falling out of his hand. He should keep his fingers together and his palm gently cupped. How does it feel?
  2. Push the water toward the feet. Have your child concentrate on pushing the water toward his feet, not pushing down on the water. As he becomes comfortable with the movement, have him imagine that he’s trying to push the water in a straight line from his head to his feet. This will encourage him to bend his elbow instead of stroking through the water with a straight arm.
  3. Bend the elbow in the water. Bending their elbows will allow your kids to generate more power with less effort. It will also keep them from wasting energy moving their arms down through the water. As the arm approaches the end of the stroke near the thigh, they’ll straighten it to get the most out of that pushing water toward their feet.
  4. Straighten the arm out of the water. For the best recovery to the streamline starting position, your kids should bring the recovery arm straight through the air.
  5. Don’t forget to kick. Once they’re comfortable with the arm movements of this swimming stroke, let your kids practice kicking simultaneously until it comes naturally.
  6. Play with the timing. This tip will be familiar from teaching your kids the nuances of the front crawl. Your child will naturally start to play with the timing of his arm movements. It’s particularly easy to do when he’s practicing the backstroke, because he doesn’t have to worry about taking a breath. Encourage him to experiment. What happens if you start moving one arm back while the other arm is pulling back? What happens if you start moving one arm back while the other arm is returning to streamline position? Foster an awareness of timing and the different results different approaches to timing yield.